Media Library
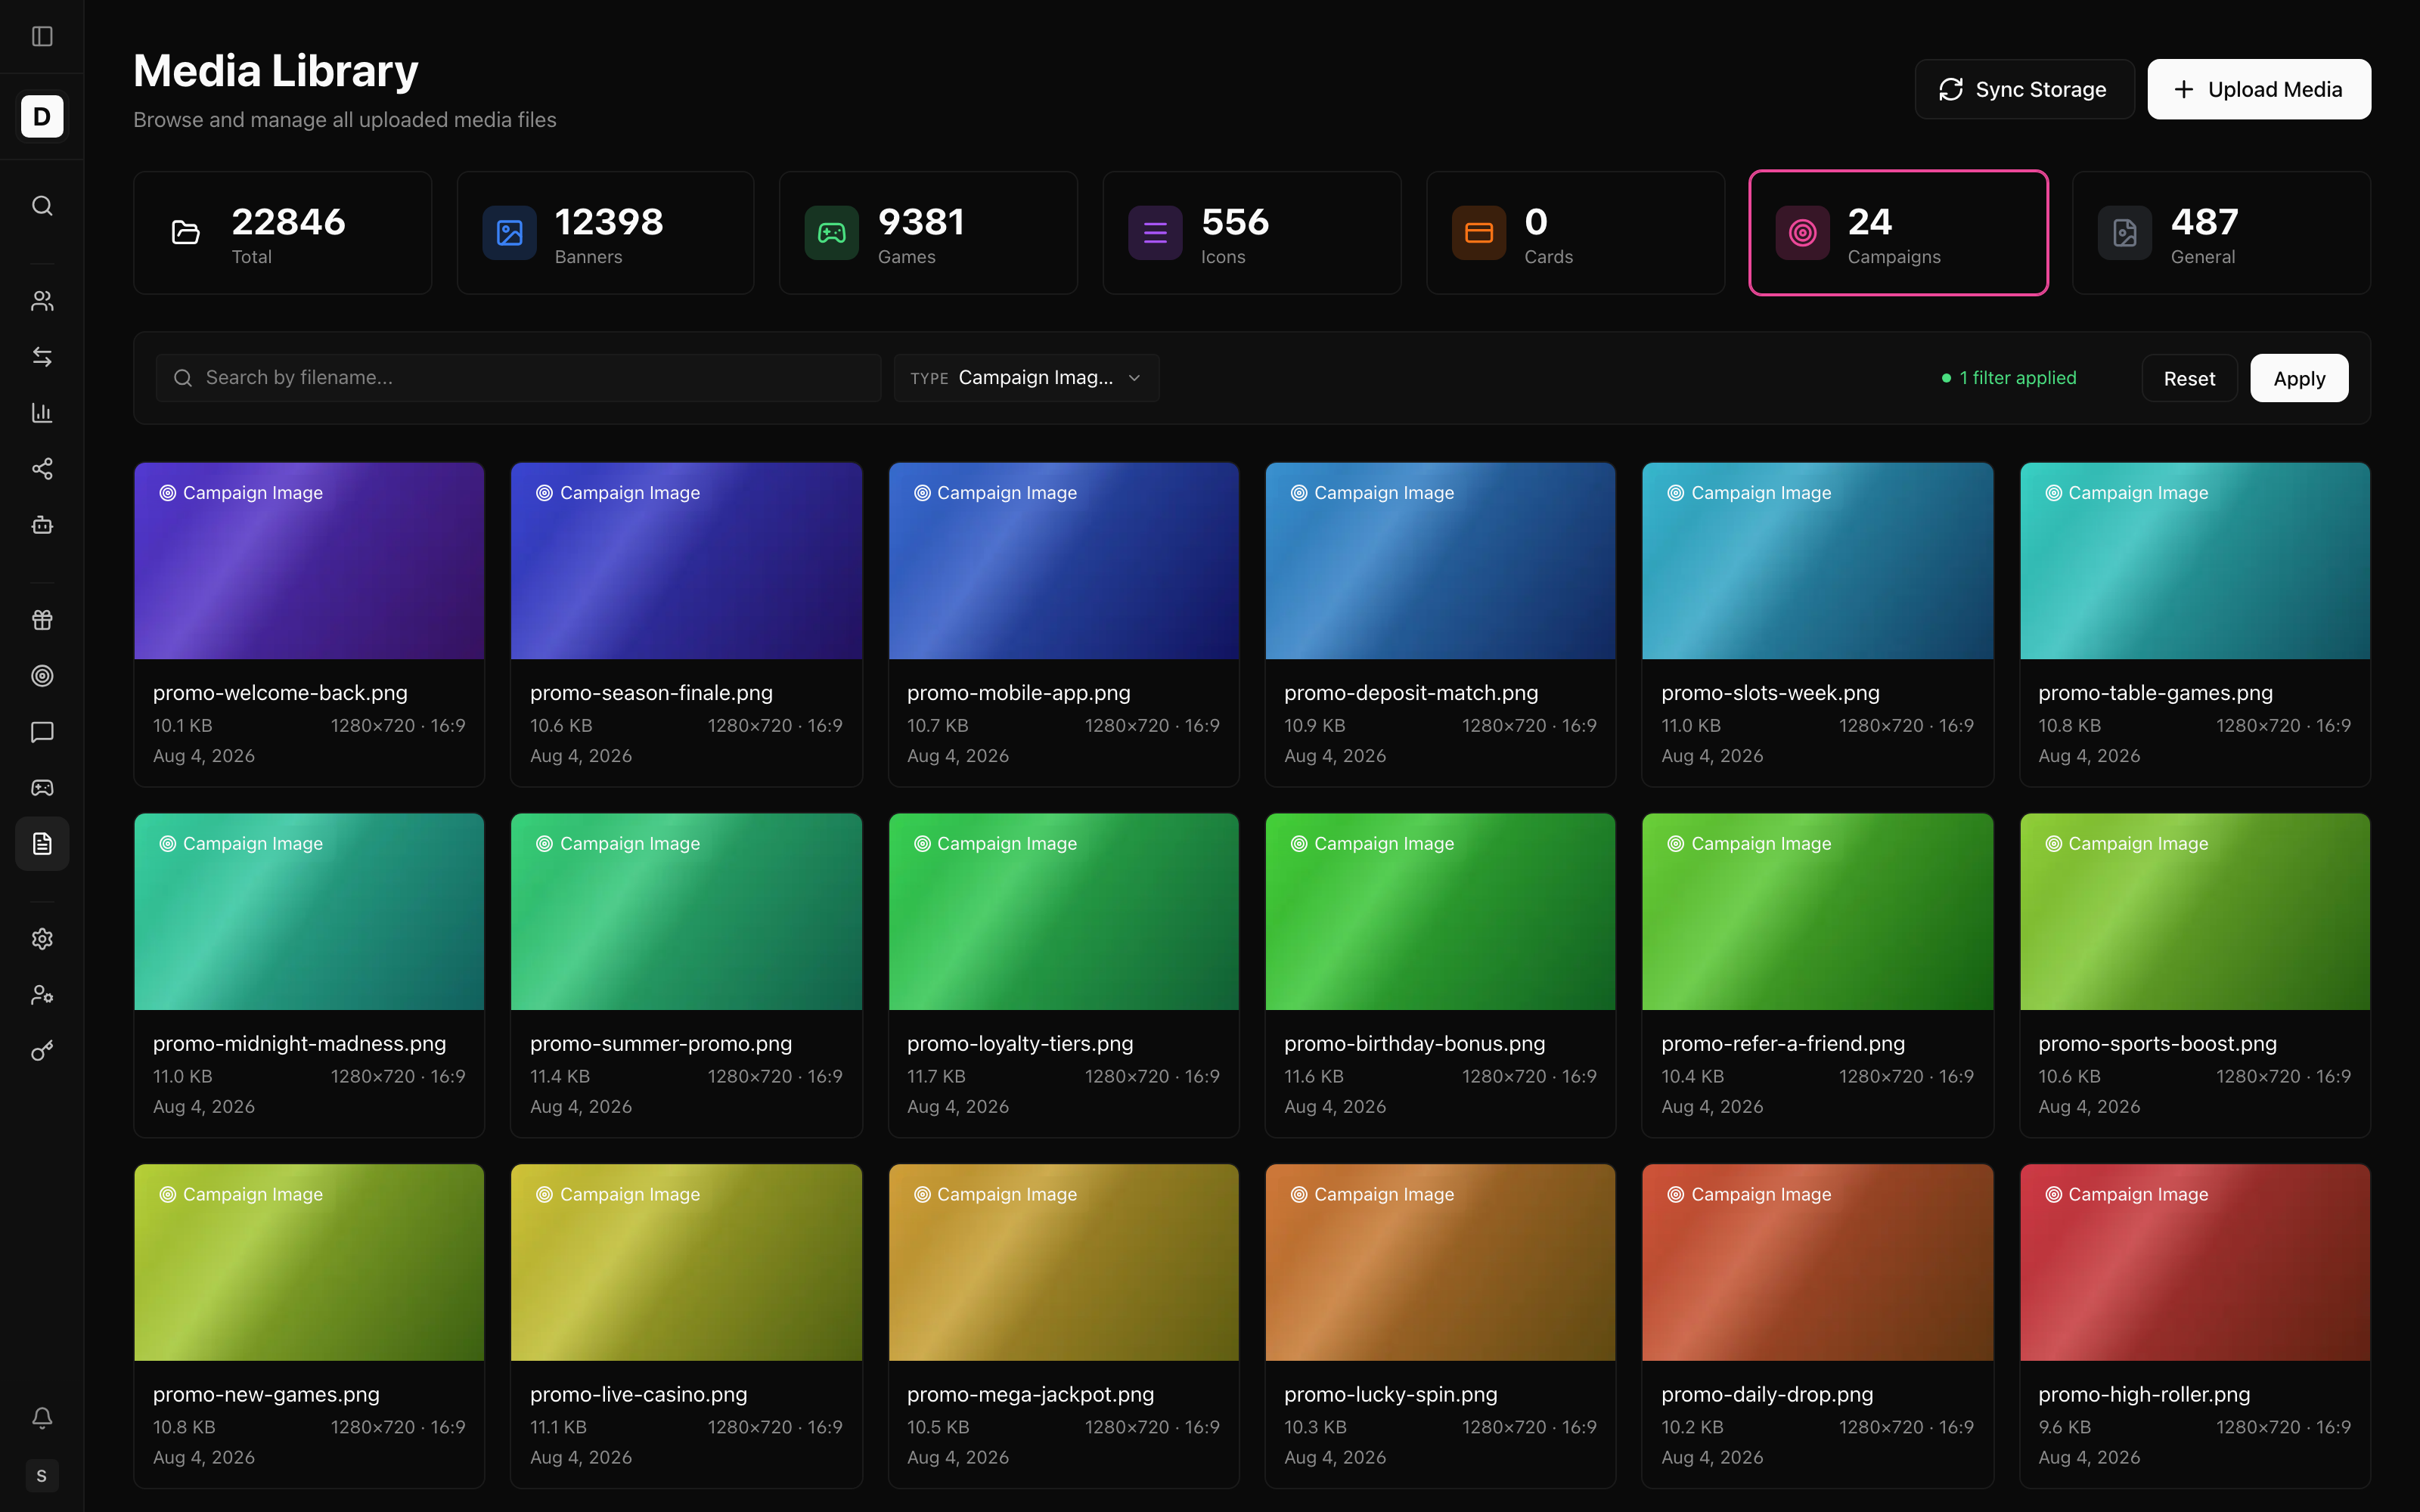
The Media Library is where all uploaded images live. Banners, menu icons, card images, campaign images, and game thumbnails all reference files stored here, so it is the central place to upload, browse, and manage media for a brand.
Accessing the Media Library
- Click Content > Media Library in the sidebar (route
/media) - The library shows summary cards per media type and a grid of uploaded files
Media is brand-specific — select the target brand from the brand selector before uploading or browsing.
Media Types
Files are organized by type. The summary cards at the top double as filters:
| Type | Used for |
|---|---|
| All Types | Every file, regardless of type |
| Banners | Banner background images |
| Game Thumbnails | Game tile artwork |
| Menu Icons | Icons for card-style menu items |
| Card Images | Images for Card Lists |
| Campaign Images | Images used in campaigns/promotions |
| General | Anything that doesn't fit the categories above |
Browsing and Filtering
- Search — filter files by name
- Type cards — click a card to show only that media type
- Pagination — the grid is paginated; adjust the page size to show more or fewer files per page
Each file shows a thumbnail, its file size, and its dimensions (width × height) where available. Files also track a usage count — how many places currently reference the file — which helps you avoid deleting an image that is still in use.
Uploading Media
Upload an image once here so it can be reused across banners, menus, card lists, campaigns, and game tiles without uploading it again each time.
- Click Upload Media
- Choose a media type (defaults to General)
- Click to browse for a file, or drag an image onto the drop area
- Click Upload
Each uploaded image is processed into several sizes automatically, so an appropriately sized image is served for each context where it appears.
Supported formats are JPEG, PNG, WebP, GIF, and SVG, up to 10 MB per file. Because the sizes are generated for you on upload, you simply provide a good-quality source image and the matching size is chosen at display time.
Viewing File Details
Click a file in the grid to open its detail view. It shows an image preview along with the media type, file size, dimensions, format, and upload date, and lists every place that currently uses the file with a link to each. From here you can open the full-size original in a new tab, and copy the web address (URL) of any size variant to paste it elsewhere in the Content Management System (CMS) — for example into a banner's background image or a card list.
Sync from Storage
Use this to bring already-present image files into the browsable library so they can be reused like any other media. If files exist in storage but are not yet tracked in the library, click Sync Storage to import them. The sync reports how many files were added and how many were already tracked, so you can reconcile the library with what is actually in storage.
Deleting Media
Remove images you no longer need so the library stays manageable. Open a file's detail view and click Delete. If the file is still in use, the confirmation tells you how many items reference it and warns that deleting it may leave broken images in those places; you can still choose Delete Anyway when you are sure the image is no longer needed.
Deleting a media file cannot be undone, and any banner, menu, or card still pointing at it will lose its image. Check the usage count first.